
Compatibility, Replacement and Commissioning Guide for Endress+Hauser 71323009 Proline Power Supply Spare-Part Set
Endress+Hauser 71323009 is an original non-Ex power supply spare-part set for compatible Proline 300 and Proline 500 measuring systems. The kit is specified for 100-230 VAC input and 24 VDC output.
Purpose of the 71323009 spare-part kit
Endress+Hauser 71323009 is an original power-supply spare-part set listed for compatible Proline 300 and Proline 500 measuring systems. Manufacturer documentation identifies the kit as a 100-230 VAC to 24 VDC non-hazardous-area version and describes the content as one power unit. It is intended for maintenance of compatible instruments, not as a universal standalone DIN-rail supply.
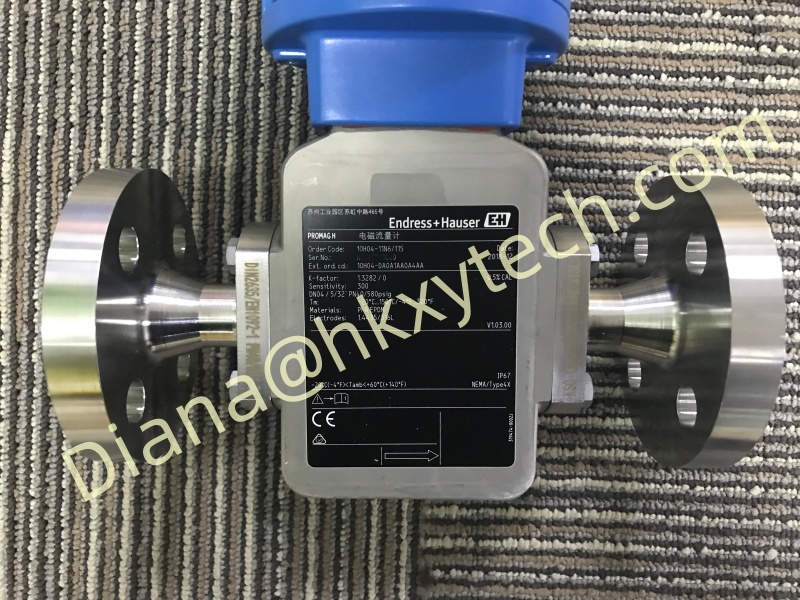
The spare part belongs inside a defined transmitter hardware architecture. Compatibility must therefore be established with the exact device version before a technician opens the enclosure. Matching only the Proline family name can lead to the wrong input-voltage, hazardous-area or module construction being supplied.
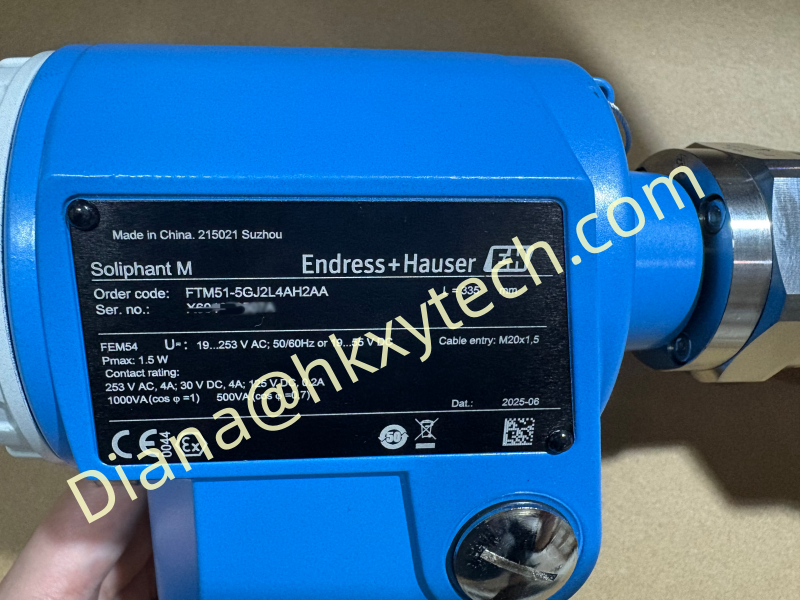
Verify compatibility using the instrument identity
Start with the device order code, serial number, transmitter type and the part number on the installed module. Use the Endress+Hauser spare-parts or device documentation associated with that serial number to confirm that 71323009 is approved for the specific instrument. Record the existing power input and hardware revision as part of the review.
Proline 300 and 500 cover multiple measuring technologies and transmitter arrangements. The fact that a flowmeter uses a Proline platform does not automatically confirm every internal power unit. Ask the supplier to confirm compatibility in writing when the original documentation is incomplete or when another part number appears on the removed module.
Distinguish the non-Ex kit from hazardous-area versions
The 71323009 description specifically identifies a non-hazardous-area power-supply set. Do not install it in an Ex-certified assembly merely because the connector or physical dimensions appear similar. Hazardous-area instruments rely on approved component combinations, labels and construction that must remain consistent with the certification.
Check the transmitter nameplate, area classification and project equipment register before ordering. If the instrument is installed in or associated with a classified location, refer the replacement to the responsible hazardous-area specialist and use only the manufacturer-approved part for that certified device version.
Confirm the incoming electrical supply
The kit is specified for 100-230 VAC input and produces the internal 24 VDC supply required by the compatible transmitter architecture. Verify the actual site voltage, frequency, protective device, isolation method, conductor size and protective-earth arrangement against the instrument documentation. A label check at the enclosure is necessary even when the panel drawings appear clear.
Investigate why the original module failed before energizing a replacement. Supply surges, loose terminals, moisture ingress, overheating, incorrect fusing or downstream faults can damage the new unit if the cause remains. Measure the incoming supply under the approved safe-work procedure and inspect adjacent modules and connectors for heat or contamination.
Plan isolation and electrostatic protection
Replacing an internal power unit requires complete electrical isolation and verification that dangerous voltage is absent. Follow the site lockout and tagout procedure, allow stored energy to discharge and observe all warnings in the device service instructions. Only qualified personnel should perform the work.
Use appropriate electrostatic-discharge precautions when handling electronic modules. Keep the replacement in protective packaging until the work area is ready, avoid touching contacts and place removed parts on a suitable antistatic surface. Protect open enclosures from dust, water and conductive debris throughout the intervention.
Record wiring before removing the failed module
Before disconnection, compare the installed wiring with the current diagram and capture clear photographs where site rules permit. Label conductors and connectors so they return to the correct positions. Inspect terminal condition, wire preparation, connector latches and earth connections rather than assuming the module alone caused the loss of power.
Remove and install the unit using the manufacturer procedure and the correct tools. Do not force a connector or module into position. Confirm that the replacement is fully seated and secured, with no trapped wires or damaged insulation, before closing the transmitter.
Restore enclosure integrity after replacement
Inspect cover seals, cable glands, blanking plugs and bonding connections before the enclosure is closed. The instrument can only maintain its intended environmental protection when all sealing components are clean, undamaged and correctly tightened. Replace damaged seals according to the device documentation rather than compensating with unapproved material.
Check that internal wiring has adequate clearance and that no connector is under tension. Remove tools, loose hardware and packaging from the enclosure. Update the maintenance record with the installed part number, date, technician and observed cause of failure.
Perform controlled power-up and functional checks
After the work is inspected, restore power under the approved commissioning procedure. Observe startup behavior and local diagnostics. Confirm that the transmitter reaches its normal operating state without power, electronics or sensor alarms and that the local display or indicators behave as expected.
Verify the measured value against the process condition and confirm all configured outputs and communications. Check the 4-20 mA signal, pulse or frequency output, relay functions and digital communication that apply to the instrument. Compare control-system status before returning the loop to automatic operation.
Use failure findings to improve spare strategy
Retain the failed module for analysis when required by the maintenance program. Document visible damage, diagnostic messages, supply measurements and environmental findings. Repeated power-module failures should trigger a review of incoming power quality, enclosure sealing, cabinet temperature and grounding rather than repeated component replacement.
Store spare 71323009 kits in their original protective packaging in a clean, dry, controlled area. Apply inventory rotation and record compatibility information for the instruments the kit is intended to support. A spare should remain traceable to the manufacturer and should not be mixed with visually similar Ex or DC-input versions.
Build a complete purchase and maintenance request
State Endress+Hauser 71323009 and describe it as the 100-230 VAC to 24 VDC non-Ex power-supply set. Provide the flowmeter serial number, full order code, transmitter type, installed supply voltage, area classification and existing module information. Request confirmation that the kit contains the correct power unit for that device.
Ask for the current installation instructions and applicable service guidance with the quotation. When the spare is received, compare its label, packaging and documentation with the purchase order before it enters stock. This verification reduces the chance that an incompatible internal module is discovered only after the instrument has been isolated for maintenance.
Manufacturer installation reference for Endress+Hauser 71323009